Image Map

Friday 29 January 2016

Maybelline's The Falsies Push Up Drama Mascara

When searching for a new mascara I like looking at what new ones are on offer. Recently I have been sticking to Maybelline's Lash Sensational as it separates the lashs so beautifully however decided that I need to change it up. This particular mascara of Maybelline's caught my eye due to the bright packaging and named The Falsies Pushup Drama, it gave me such high hopes.


As you can guess from the name, this product is meant to boost and volumise your lashes which is definitely something that I need. Lets start with the cons so we can end on a good note shall we? At first the mascara applies really wet which is not the most desired factor however I think over time once it dries out that the product will be better. Due to this and the shorter bristles on the brush, you really have to be careful with how much product is on the brush as it can go on very clumpy. The first time I applied this my lashes were a mess.

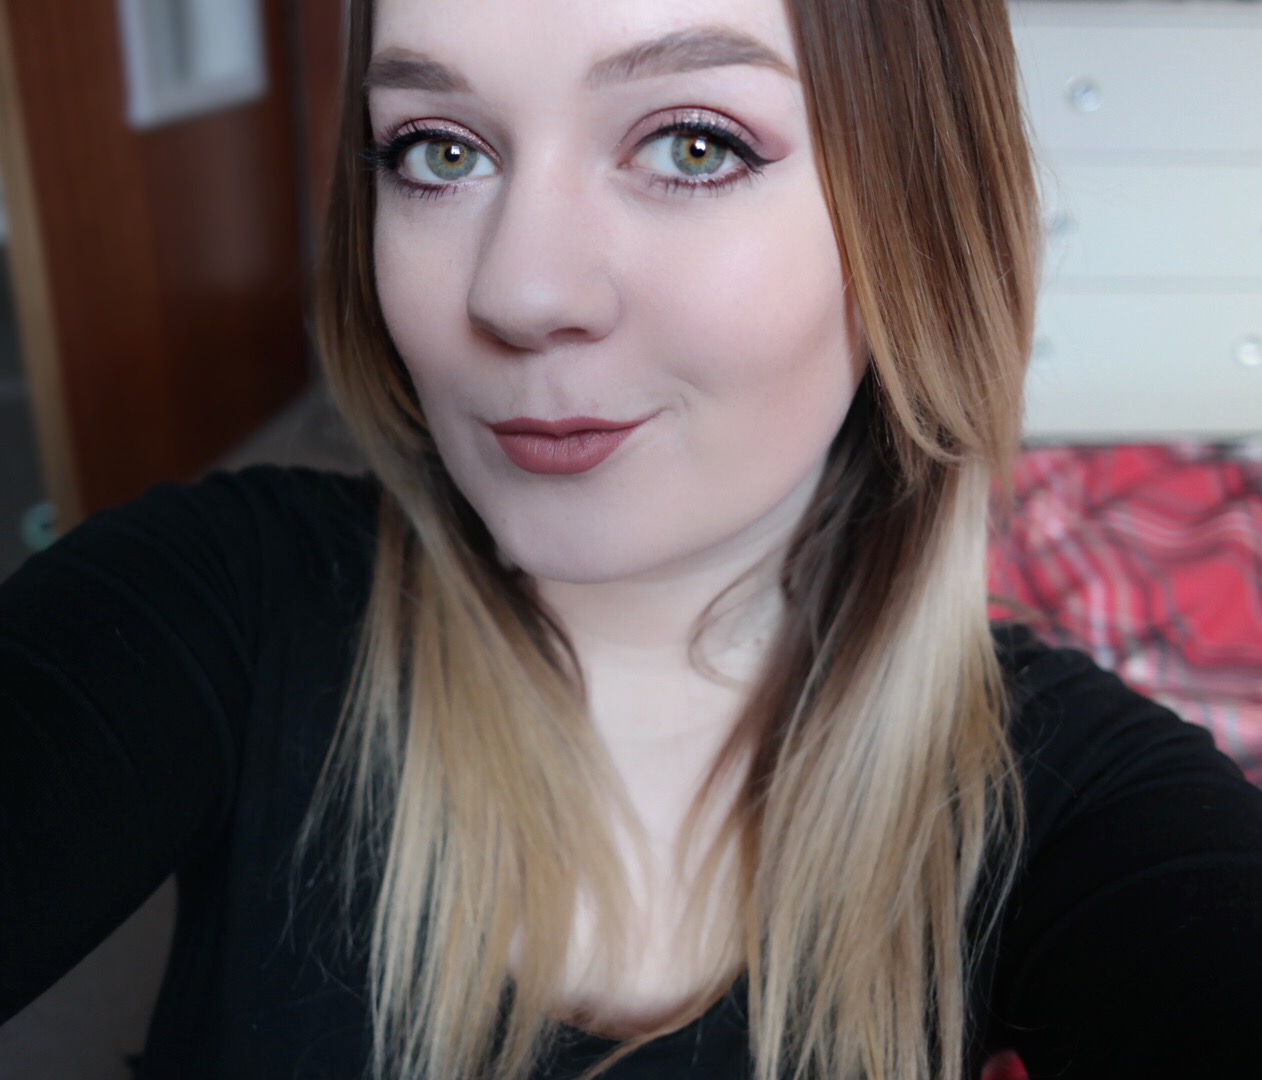
Now the major pro of this product is the formula as it is really dark and definitely plumps the lashes (maybe a little too much). To combat this, I found that the mascara works really well when applied then combed through with another clean mascara wand. I use an old Lash Sensational brush which as I mentioned before I love. This separates the lashes so much better while still taking advantage of the amazing formula. 

So overall the brush and wetness of this formula is not the best as when applied the product can go a little clumpy. However the formula is amazing and definitely does what it says on the tin (or tube). It really is worth investing the tiny sum of £7.99 in if you do not mind using an old mascara wand also. However it may dry out over time and apply with the original brush a lot better! If you would like to see this on my lashes then check out my winged liner post.


Have you tried this mascara?

Wednesday 27 January 2016

How I Perfect Winged Liner

For years now I have been trying to perfect winged liner and now think that I am finally happy with my results. I know a lot of people will already know this technique but it is surprising how many of my friends say that they have no idea how to do winged liner.. therefore I hope this helps at least one person! 


I used Soap and Glory's Supercat liner for this however I often use gel also, if you would like to see how I do that then just let me know in the comments. 

1. First off I line my top lid with the liner. To do this I just hold the liner horizontally against my lid and glide it all the way across however do it in around 3 parts and not just one big sweep.

2. I then hold the liner from the corner of my water line and point the felt tip towards to the end of my brow. The tip of the liner is pressed down carefully and drawn back to create a line. Using the waterline as a guide works well as it helps create even liner on both eyes.

3. The very tip of the liner is then used to drawn a line from around 3 quarters of the way up the wing to the lid. Make sure this goes downwards and not straight across as that would just not look too great.

4. Finally I make the previous line on my lid thicker to incorporate the wing. This is done by tracing over the liner connecting the wing to the line and continuing it to the inner corner in a downwards motion therefore it gets thinner as it goes on. 

5. Once all of these steps are completed, I then take an angled brush and go over the liner with black powder. This sets the liner into place and also assists any mistakes by creating a soft line to fix it. I also run concealer under the wing to make it look more precise. 


Do you like winged liner?


Monday 25 January 2016

Lace Up Wishlist

I am sure that we all have noticed the current lace up trend and have to say, I am impressed with what is on offer. An array of items are now available including shorts, shoes, tops and dresses. So many options, so little money! 

This post is not up to my usual standard for my wishlists as my free trial of Photoshop has ran out which makes me really really sad. I definitely think a monthly prescription is on the cards.


12345678


My ultimate favourite item on this wish list are the lovely heels (6). They are the classic black therefore will go with everything however the laces add that something different. In addition to this the block heel looks so comfortable. Another trend that I am really loving right now is culottes therefore the jumpsuit (4) is definitely up my alley. However I just do not know how to pull off such a low front with my not so lovely assets. A more every day item in this list is this lovely cream jumper (5) with tie details up the side. I actually already own this as I could just not pass it up in the shop due to the idea of having lace up but not being revealing really appeals to me.


Do you like this trend?

Wednesday 20 January 2016

Anastasia Beverly Hills Dip Brow Pomade

I have wanted to try the Anastasia Beverly Hills Dip Brow Pomade since it became so popular with all of the Youtubers and bloggers. The only thing stopping me was choosing a colour over the internet in case I got it wrong which would not be good as the product is £15. Finally I decided to be brave and order it as I really need a new brow product. After numerous hours searching on the internet, I decided on the shade Taupe. I chose this due to the shade being dark enough for definition but light enough for me dying my hair back fully blonde at the end of this month. 


First of all the shade is a lot darker than I thought.. but not in a bad way as I had my reservations that the product would be too light for me because although I am going blonde my brow hairs are still dark. When I first applied this, I have to admit it took me a while. It may be because my brush is not the perfect type to use with this therefore I have ordered another one much like the Zoeva 322 which has short, dense bristles. However once completed my brows did look really good! If you would like to see this applied then check out my go to eye makeup post.

Now onto the pros of this product. Although the pot looks tiny I can tell it will last ages as you only need to use the smallest amount of product. You can also adapt how dark or light you want your brows to be by how much product you put on your brush. This good as during the day I like light brows however for events like to go a little bit more defined. Furthermore the product definitely stays put all day and does not smudge, what more could you want?

Overall this product is great and once I get practice with it, I can tell it will become my holy grail. The £15 price tag seems a little expensive for such a tiny pot but as a little goes a long way, it is definitely worth it. 


Have you tried this product?

Monday 18 January 2016

Tartan Cape and Fur


This outfit showcases 2 of my absolute favourite sale finds - the cape and fur, both of which cost around £10 each which is an absolute steal. I popped into New Look a couple of days before Christmas just for a look with my mum when I spotted these beauties. A faux fur scarf like this has been on my wishlist for ages and when I saw the price it had to be picked up. As for the cape, I just thought that the colours were so lovely together however capes often look silly on me because of my height. I think I made this work though with a belt, what do you think?

I did not really pick up much more in the boxing day sales this year... just heels from New Look that my feet are way too fat for but I just had to pick them up anyway. Oh I also bought a pretty tartan skirt which will definitely feature in a future outfit post.

Thursday 14 January 2016

My Go-to Eye Makeup - Pink and Gold

Recently I have been turning to the pink shades in my (beat up) Naked 3 palette every day which really surprises me as before I would only tend to use the neutral brown shades. Here is quick and easy look that I have been loving, also incorporating the gorgeous Kiko shadow in shade 402:


As you can see, this is so wearable but still helps me feel a little more made up. I first apply the Kiko shade all over my lid, it has to be the prettiest gold shade that I own. Also it is not too orange therefore compliments my pale skin tone. I then put Limit in my crease for definition and then Nooner on top of that. These two shades are my absolute favourites from the Naked 3 palette as they make the most perfect crease colours for so many looks. Finally I apply the tiniest bit of dust, as in the pink sparkly shade in the palette.. that felt strange to write. This is placed on top of the gold shade just to add extra sparkle! The photos really do not show how sparkly this look really is, it so gorgeous. 


Do you use these types of shades often?